iOS app removal
On the 4th of October 2021 the Pebble app was removed from the iOS App Store (Read about it here.)
If you do not have the Pebble app installed, follow this sideloading (installation) guide first!
If you already have the Pebble app installed but not set up, continue with the guide.
Connect your Pebble to its charger
Connect your Pebble to a plugged-in USB charging cable. You really wouldn’t want it to lose power in the middle of a firmware update! Once the watch is powered on, press the left button to dismiss the charging screen.
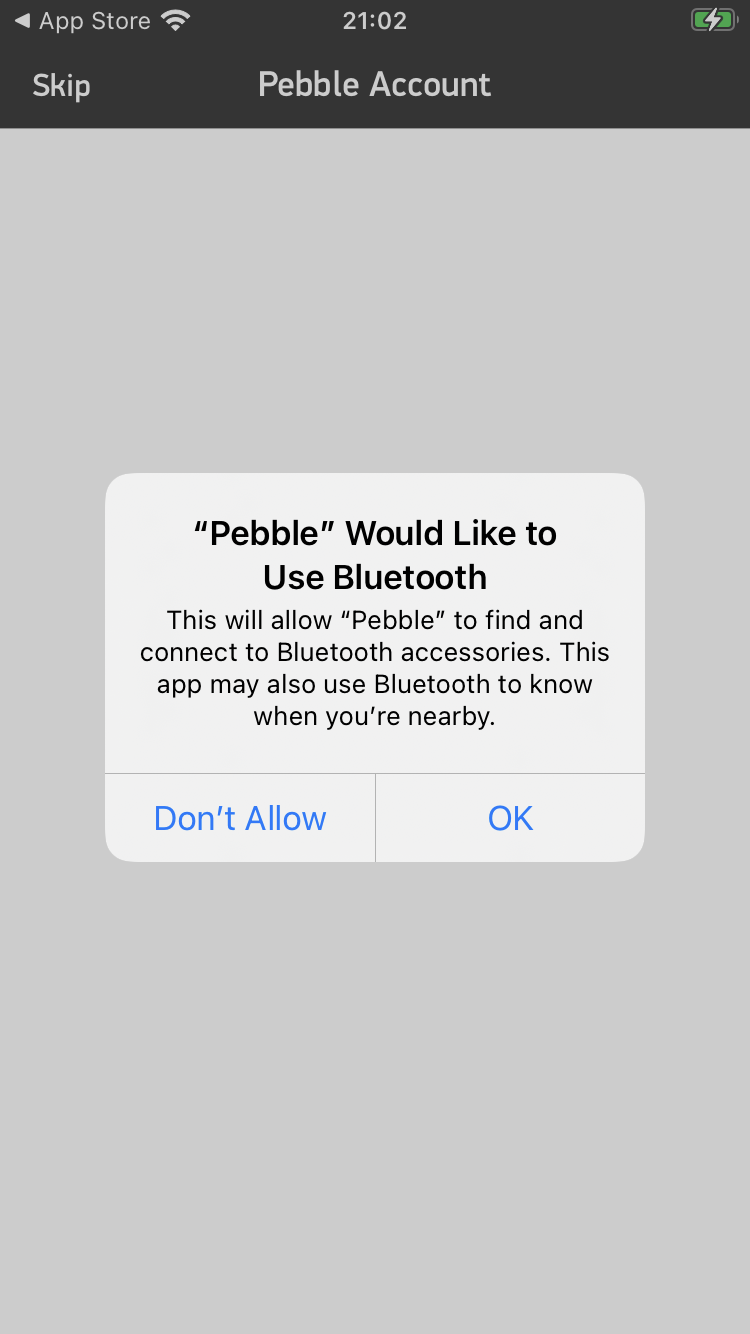
Open the Pebble app
If prompted, allow the Pebble app to turn on Bluetooth.
Skip the sign in page
The old sign in page (now blank) will be shown. Press SKIP in the top left.

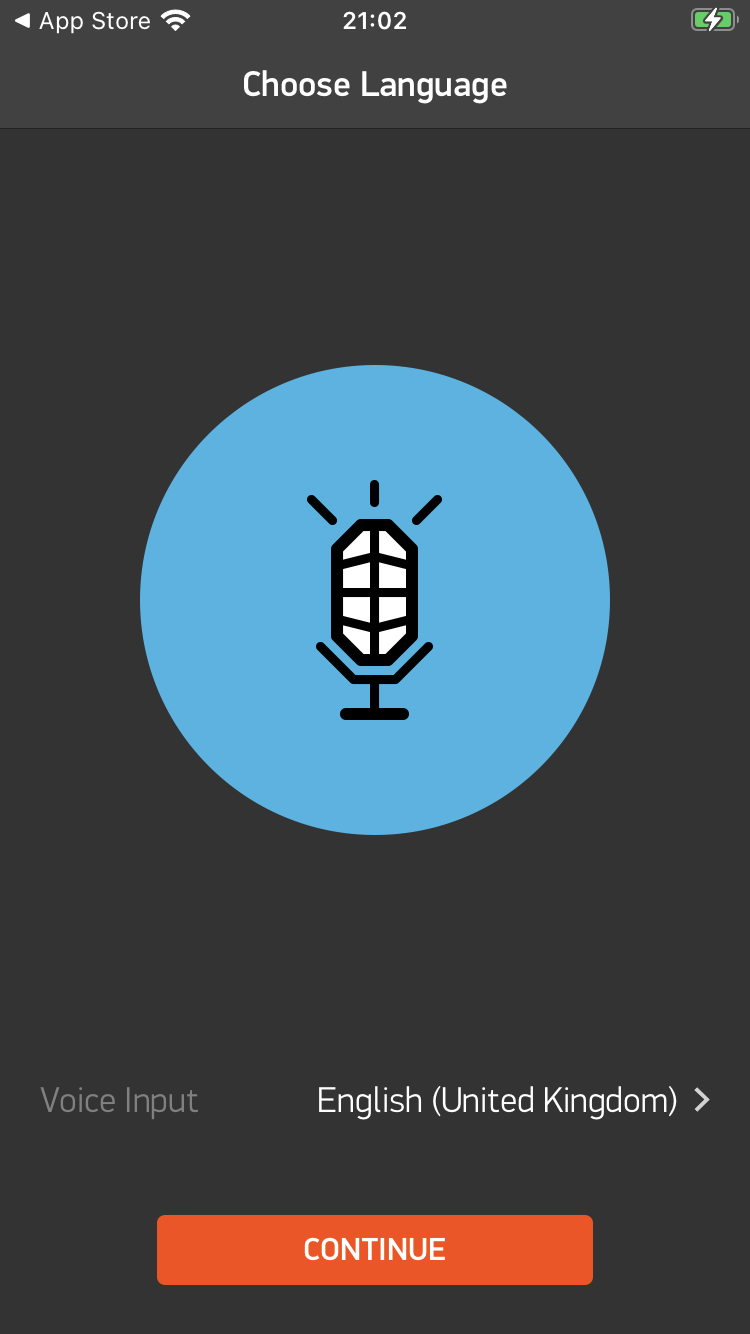
Choose dictation language
Choose your dictation language. For now, Press “CONTINUE”.
To use dictation you will need a Rebble subscription.
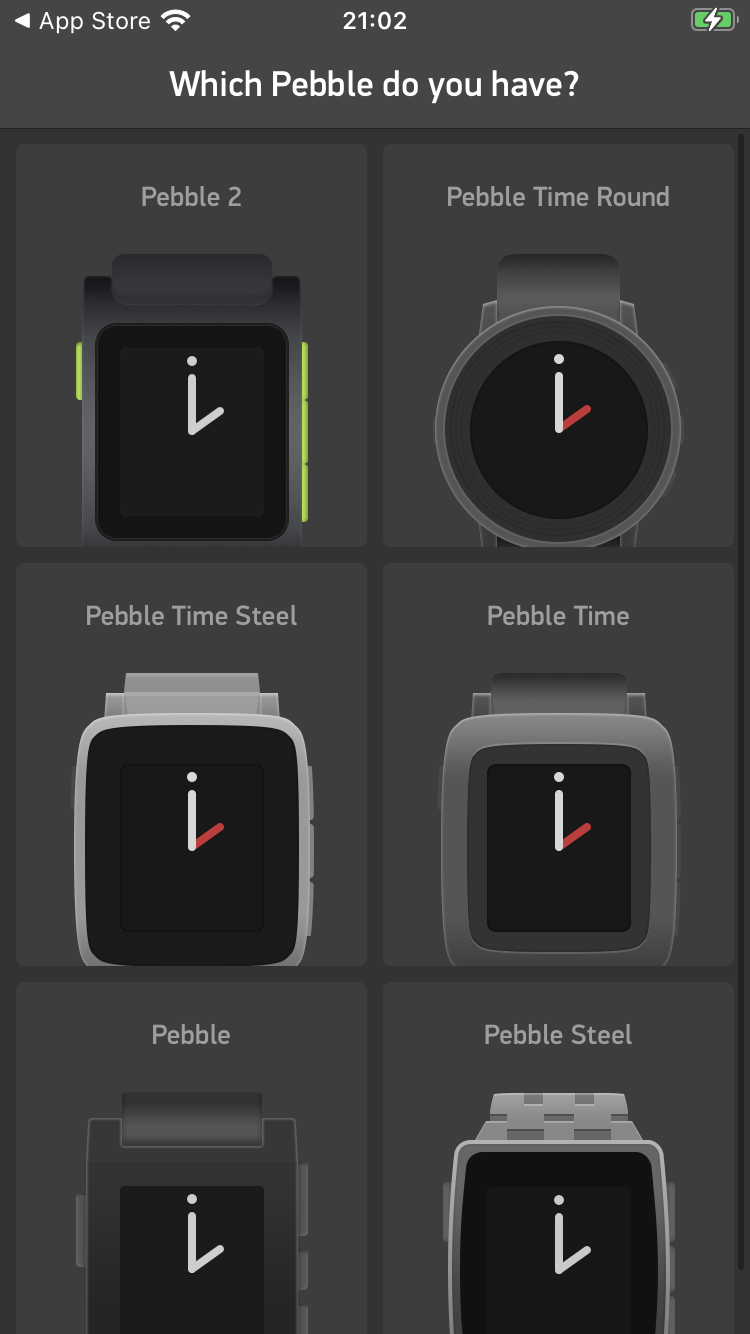
Choose the type of Pebble you have
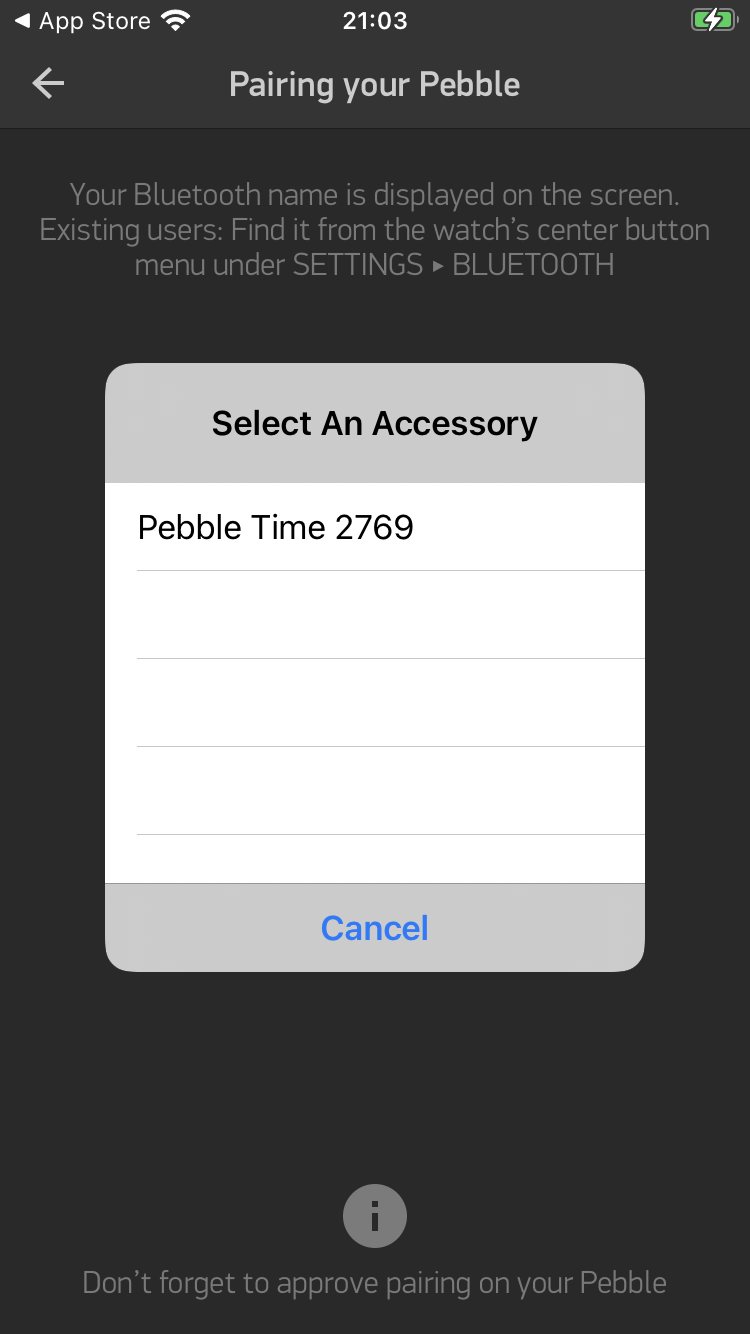
iOS then opens the accessory pairing screen. Wait a few seconds, then select your Pebble.
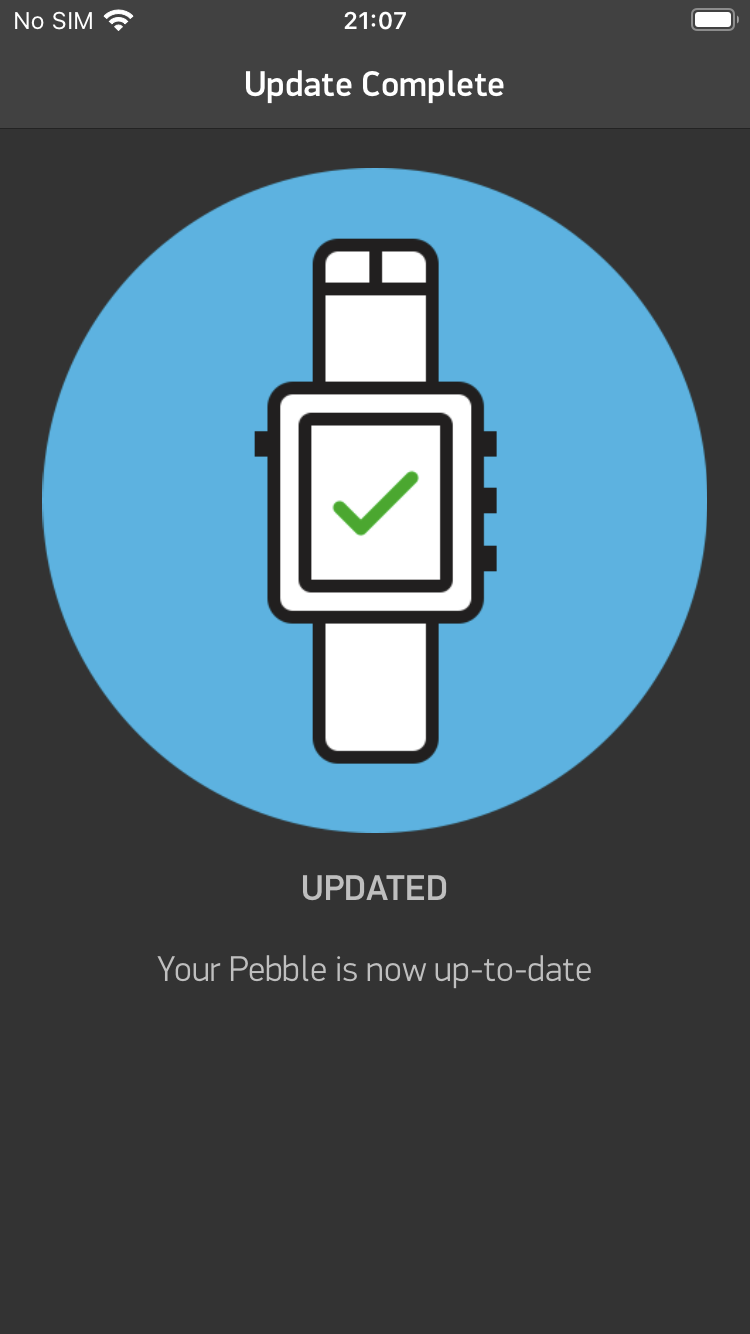
Wait for any updates
If required, your watch will now update. Wait for this to complete, then go to the next step.
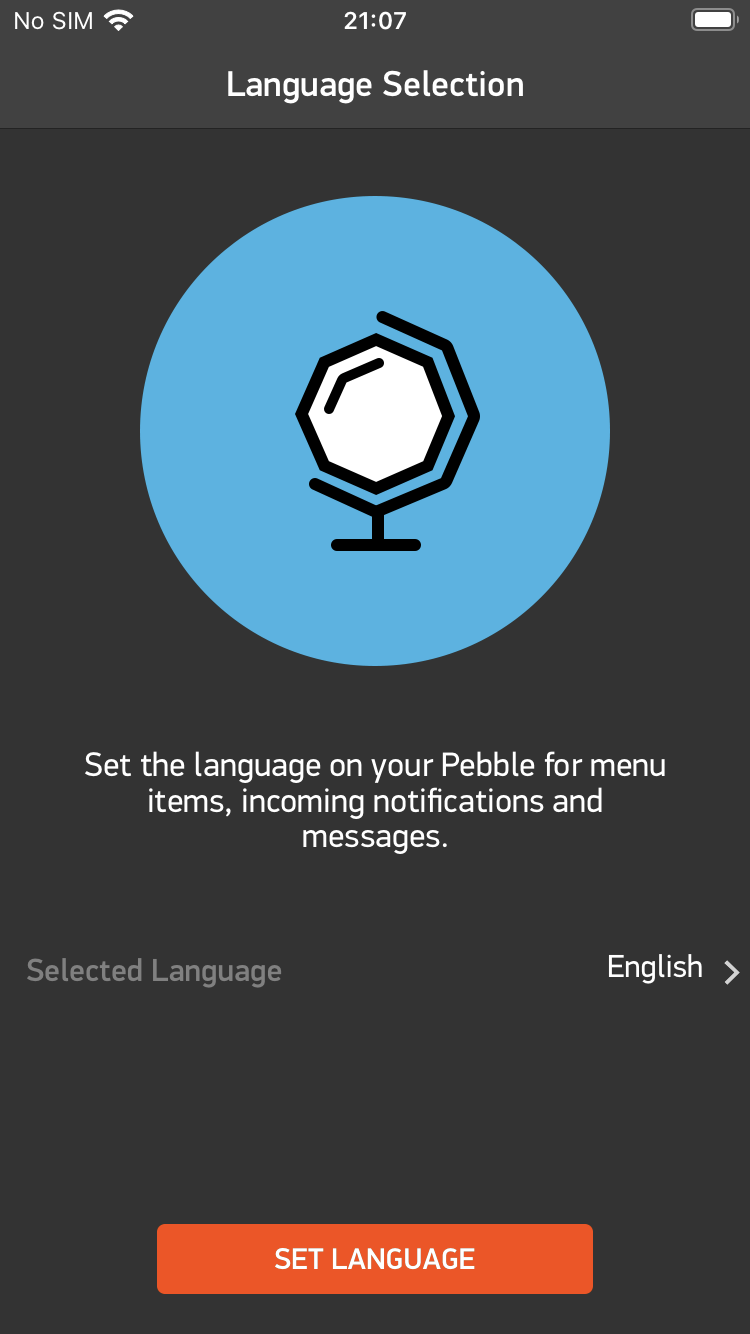
Select the Pebble language
Choose your language.
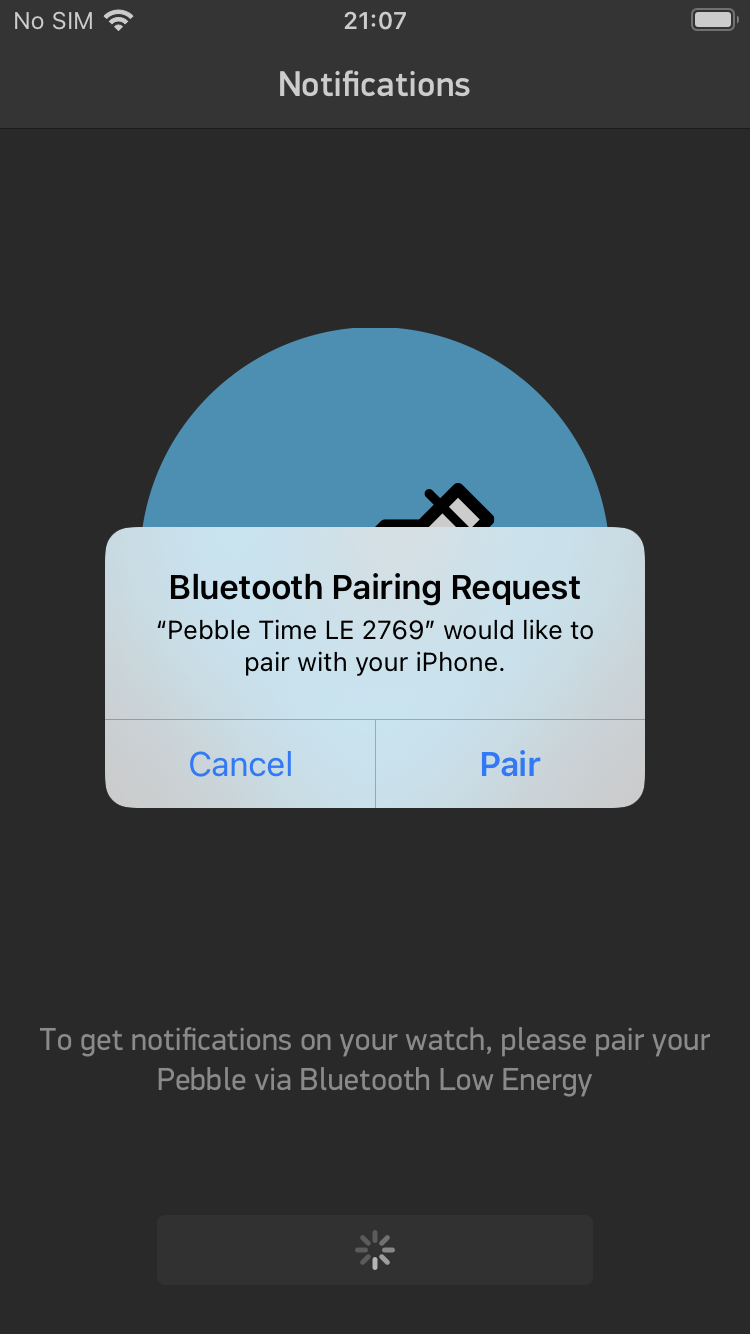
Allow LE pairing
Allow the Pebble app to pair with your watch in Low Energy (LE) mode.
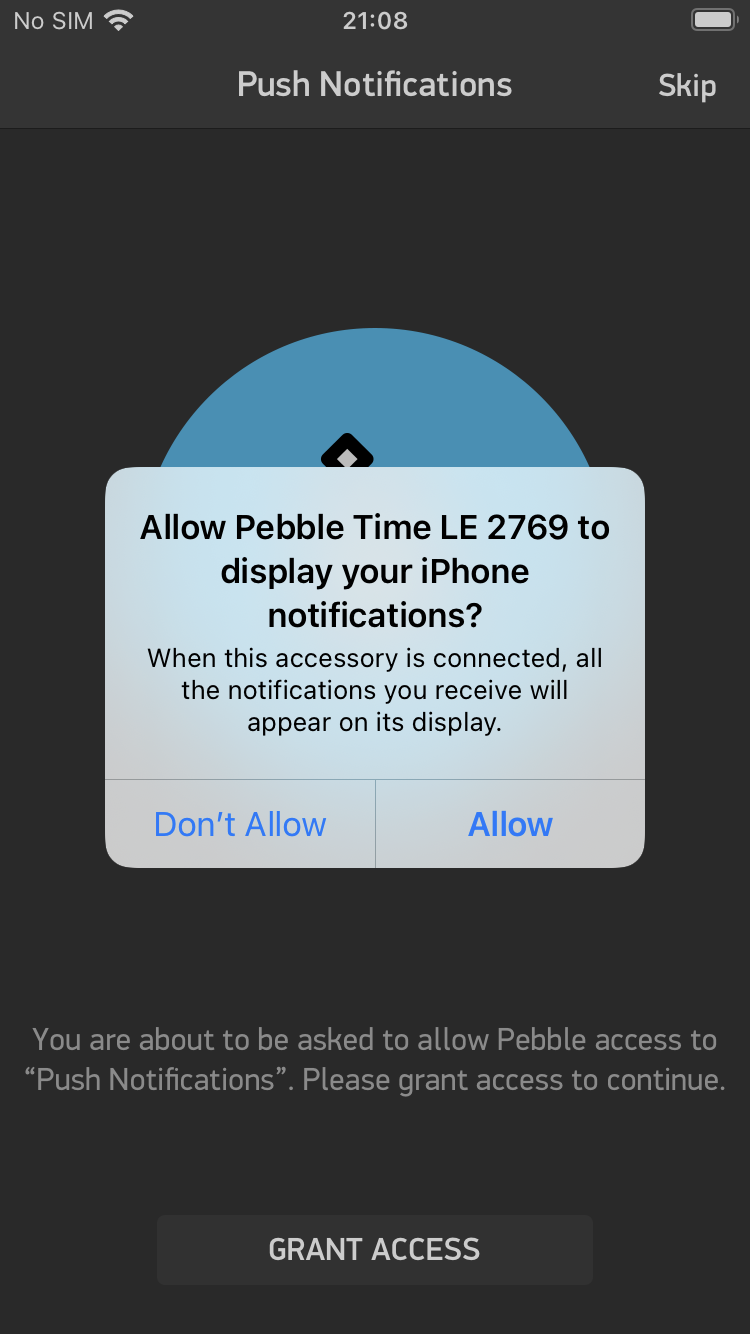
Enable push notifications
Allow notifications.
Some users have found issues with notifications not working. Please contact us on Discord if you experience them!
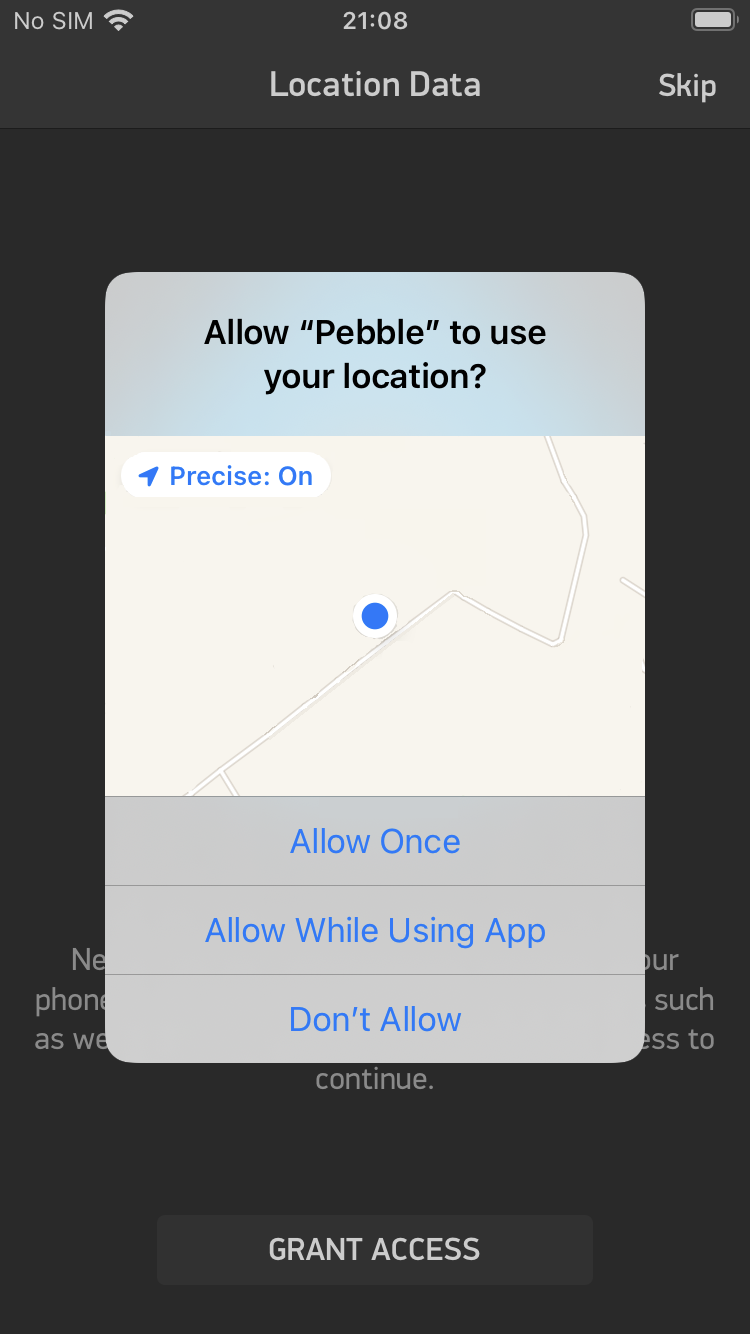
Allow location access
Press ‘Allow Once’. You will need to change this to ‘Always’ later for certain Pebble functionality to work, such as local weather.
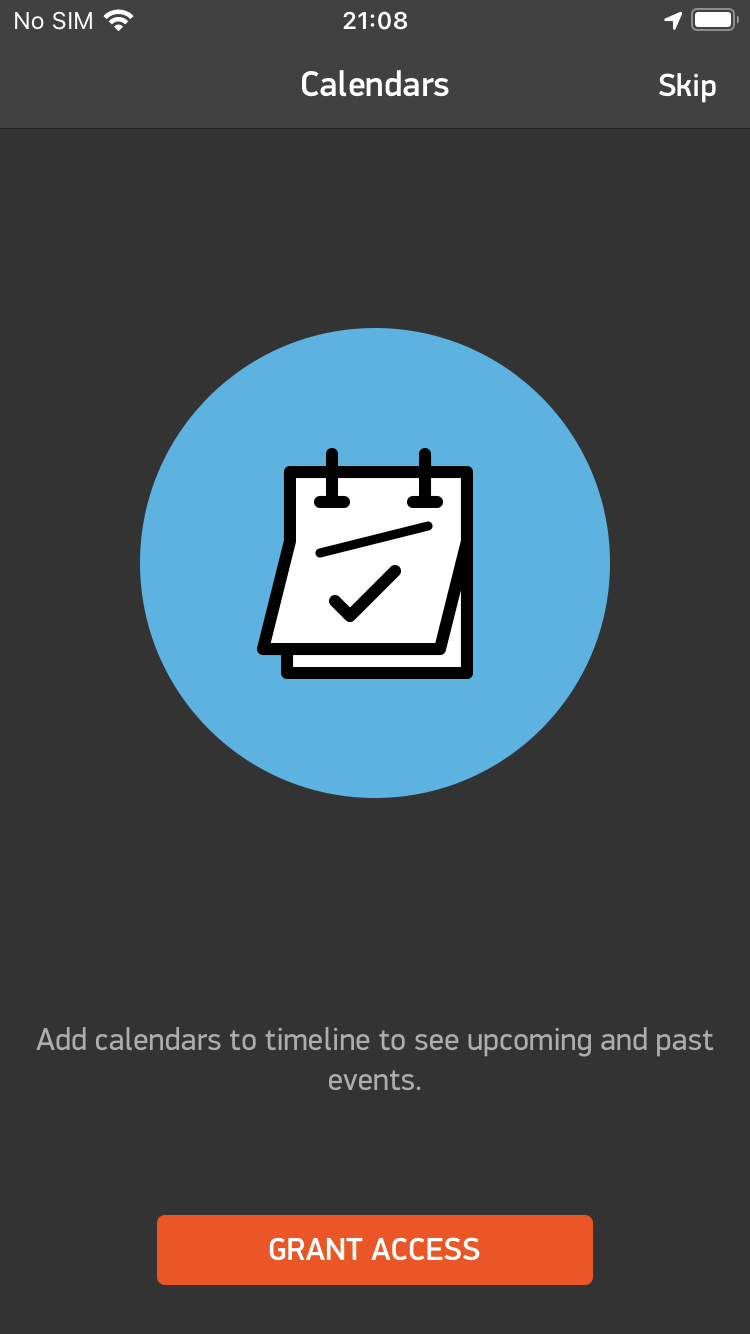
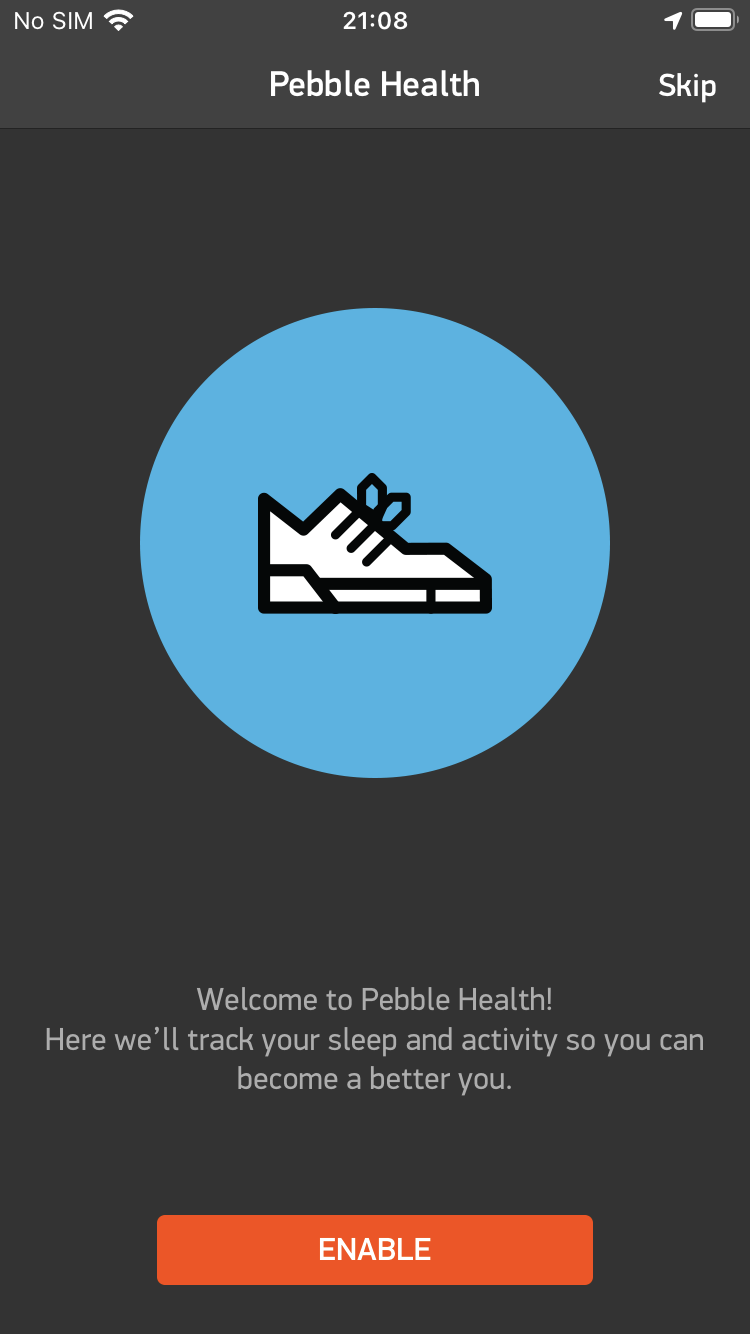
Setup calendars and Pebble Health
Run through the Calendar and Pebble Health screens. Enabling these is optional, but recommended.
Finish configuring your Pebble
Once you get to this screen, you’ve successfully connected your Pebble!
All that’s left to do now is to configure the location permission and connect it to Rebble Web Services.

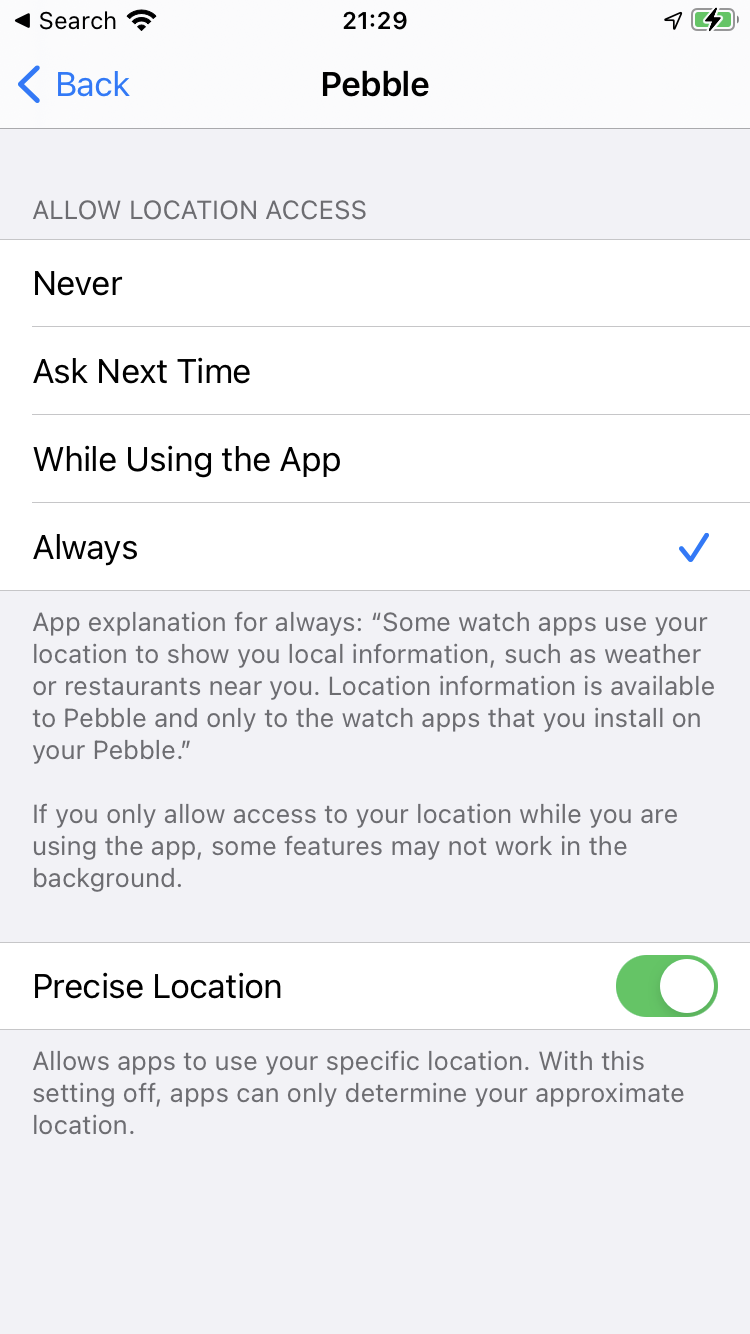
Allow location
Open your iPhone’s settings and look for “Privacy.” Then, open the “Location Services” section.
A list of your apps should load. Find the Pebble app here.
Set the location permission to ‘Always’. This is required for things like watchface weather.
Visit boot.rebble.io
The boot process, or ‘running boot’, is the process in which you tell the Pebble app to use Rebble servers instead of the defunct Pebble servers.
On your phone, open a decent browser (like Chrome or Firefox), and go to boot.rebble.io
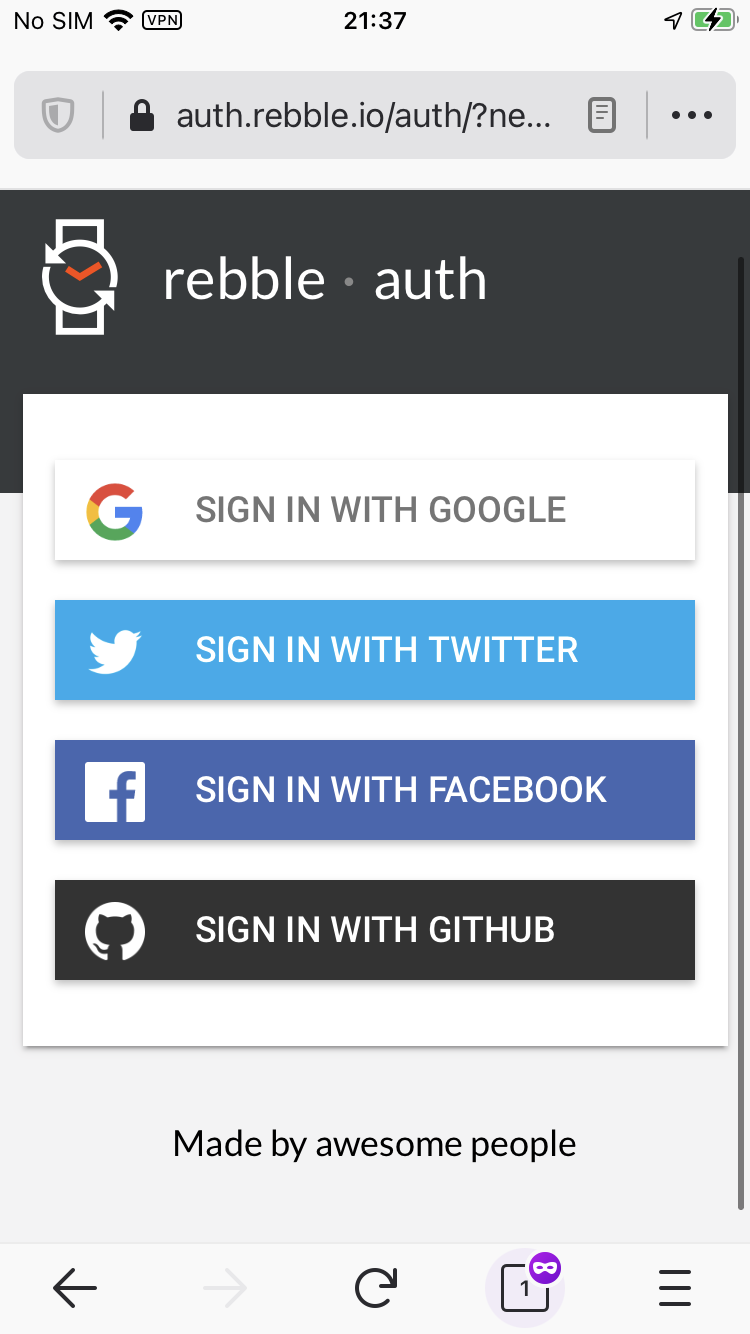
If you are not already logged in, you will be greeted with a number of ways to sign in.
Choose one and sign in. Remember your sign in credentials!
If this is successful, you will return to the Rebble website, and be greeted with You’re all set!
Press ‘Switch to Rebble’
You should now be seeing a page titled “Here we go!”
Read the page, then tap the Switch to Rebble button at the bottom of the page.
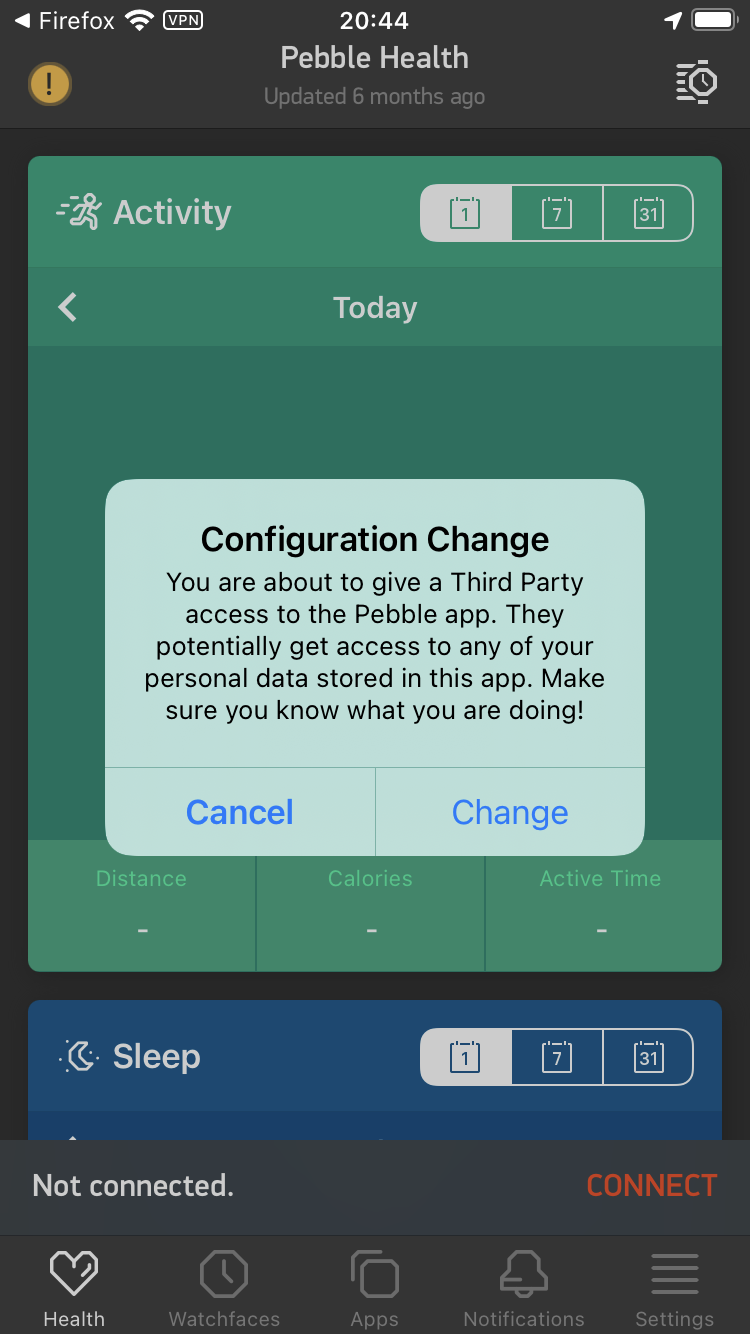
If you get a prompt about “Open with Pebble”, press ‘Okay’.
The Pebble app will then open. If you get the ‘Configuration change’ prompt, press ‘Change’.
Wait at least fifteen seconds before proceeding to the next step!
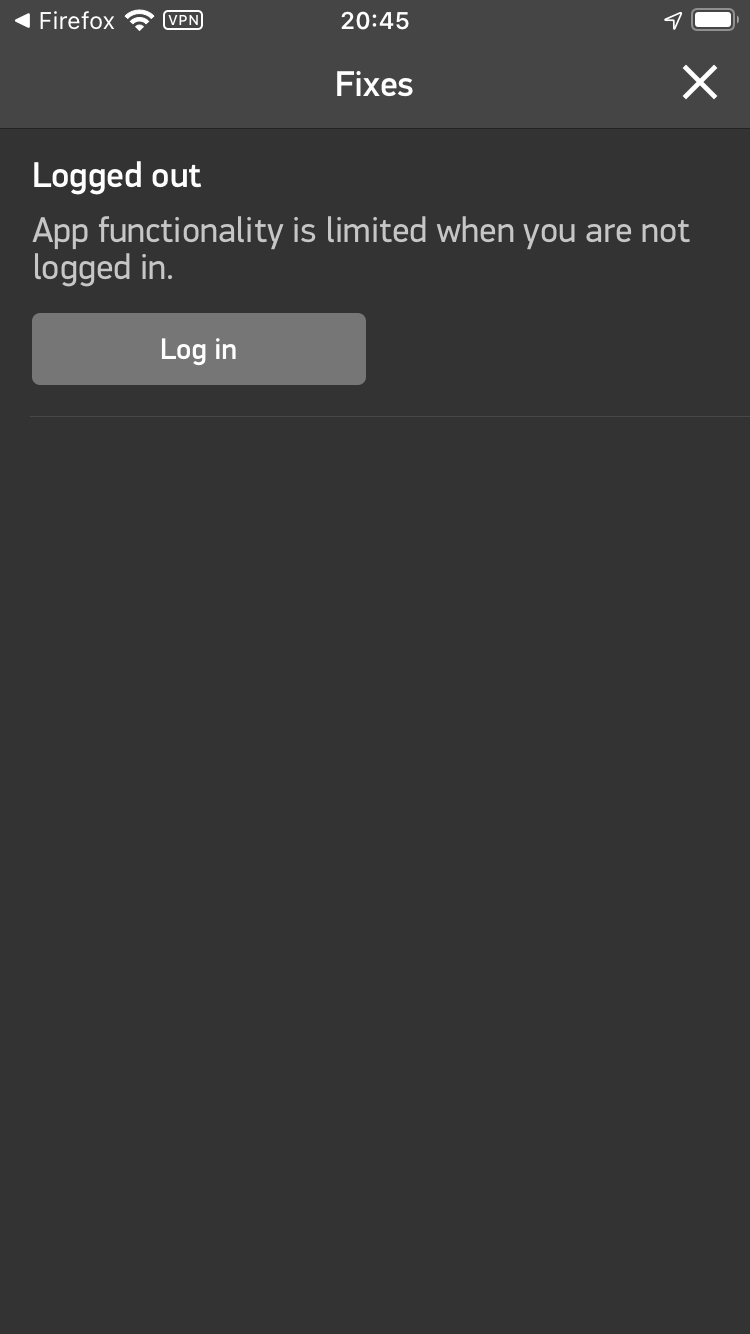
Tap the exclamation mark
After waiting, tap the yellow exclamation mark in the top left of the screen (looks like this ->  )
)
Press Log in.
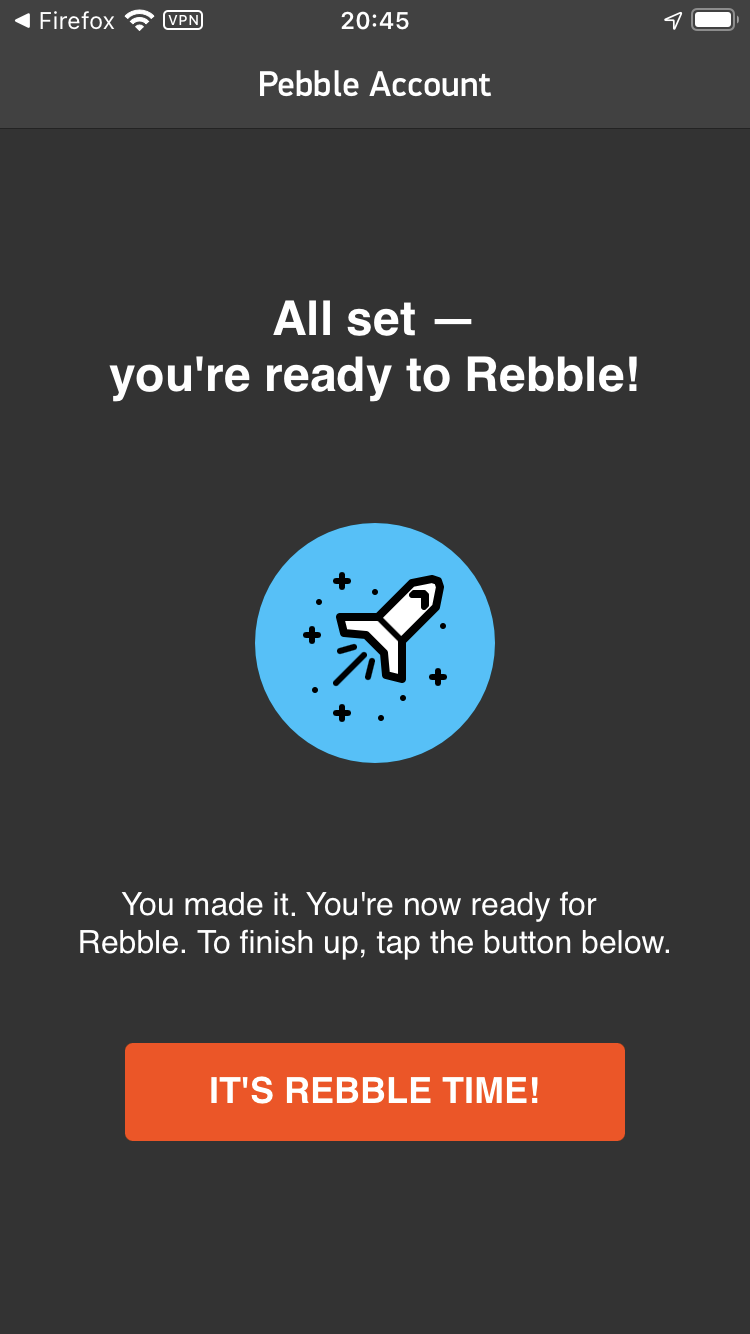
All done!
If you get back to the Pebble app and don’t see that screen (e.g. you see the login screen again), go back to the browser and press Switch to Rebble again.
Press “It’s Rebble Time” and you’re done!
What’s next?
Congratulations! Now what can you do with your Pebble?
Tap the big “+” in the lower right corner to find and install watchfaces you like from the Rebble appstore.
If you want to use dictation, get weather pins in your Timeline, and have a faster Timeline sync period (and generally support the people who make Rebble possible), consider a Rebble subscription.
If you have any other questions, contact us on Discord!
Welcome to Rebbled Pebble!